

Introduction
There’s a lot of work that goes into keeping cohesion between seperate SaaS platforms, such as Google Workspace and Okta. While they both serve as an idP (identity provider), you’ll often see Okta be the source of truth for identity orchestration, while Google becomes just a tool your users use daily. As an administrator, you’ll often find tasks needing configuration changes across platforms, which increases the amount of work it takes to implement a new setting, while opening up the possibilities of incompatibility and misconfigurations. For example, you may own a SaaS tool which you need to be managed via Okta so you can provision and license your users, but you also need to deploy the Chrome Extension.
The most common approach is to scope the Chrome Extension to the root organizational unit with Google and install it for all your users to reduce the amount of maintance it requires to ensure it’s deployed to the right audience. After years of waiting, Google Workspace finally implemented the ability to scope a Chrome Extension to a Group. Using this new capability, we’ll show you one of the most efficient ways to scope an Okta Application assignment with a Chrome Extension deployment, allowing your system administrators to reduce the amount of time it takes to handle a ticket while reducing the chance for error — helping with first touch resolution.
The idea here is to use an Okta group as your Google Push Group (Okta -> Google) which you’ll then use to scope your chrome extension installation to. This group will double as your App Assignment group.
Getting Started
Creating your Okta Group
We’re going to get started by creating a new group within Okta. Naming convention is important to help you stay organized. We’re going to use a GCP — Extension prefix, but you can use whatever your team would prefer. We use a GCP prefix specifically to keep all Google related functionality grouped since we are a very heavy Google shop (no AWS here!)
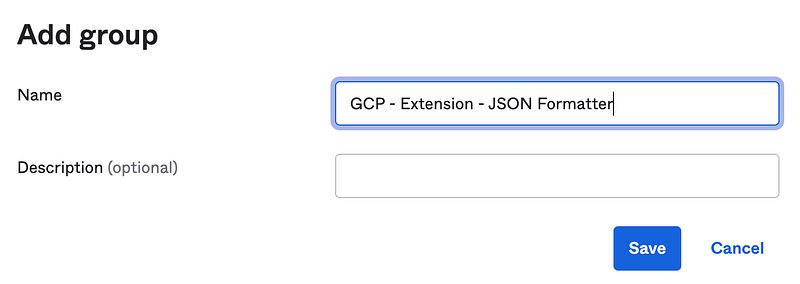
Once you click Save, you’ll be brought back to the Groups page where you can verify the Group was created.
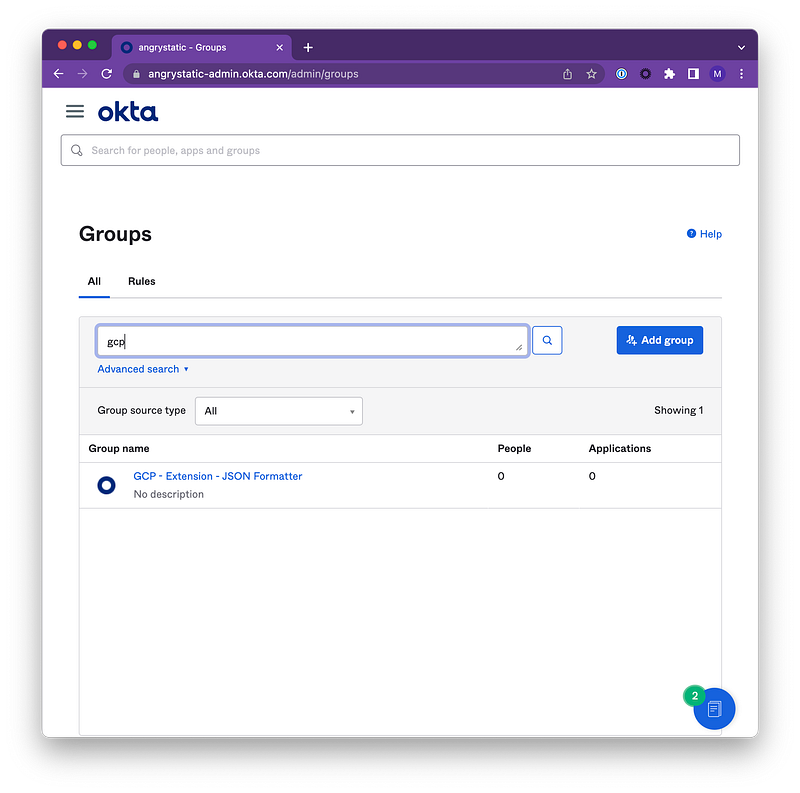
You can now assign this group to any of the Okta applications that you are trying to implement so Okta can do things like perform SCIM functionality or allow authentication for the end user.
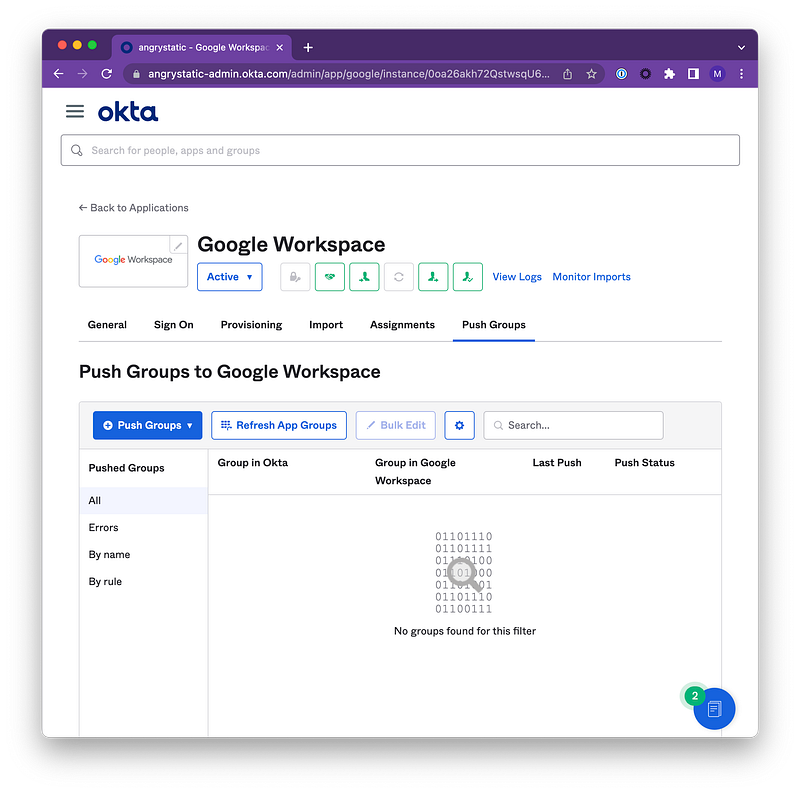
Now that the group is created, we’re going to navigate to the Google Workspace application and click on the Push Groups tab.
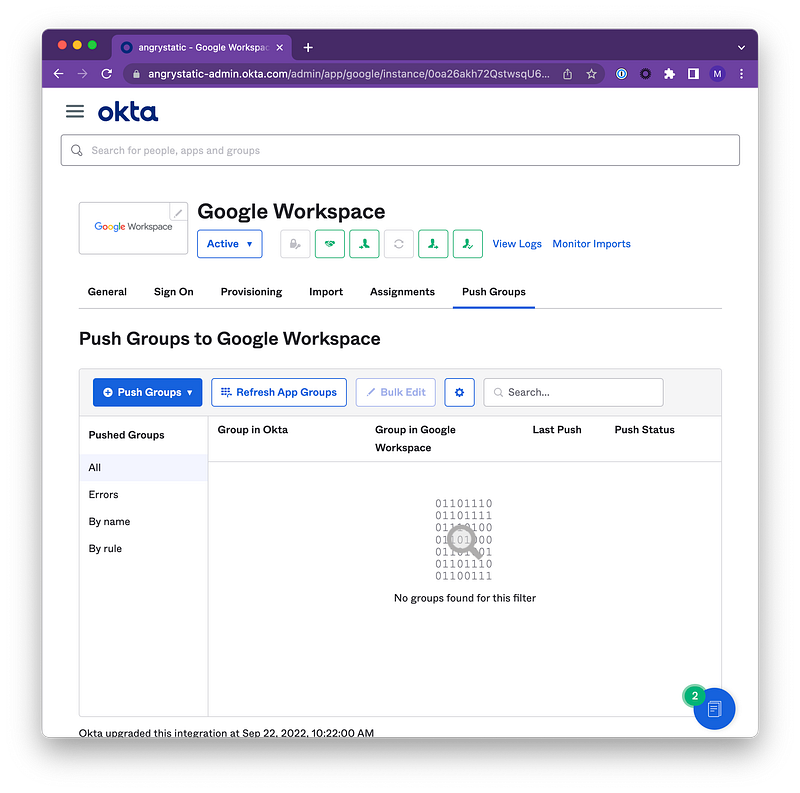
Okta Push Groups are an effective way of pushing group memberships and syncing user rosters from Okta into Google. You can learn more about Okta Push Groups here.
To add a Push Group, click the + Push Groups button.
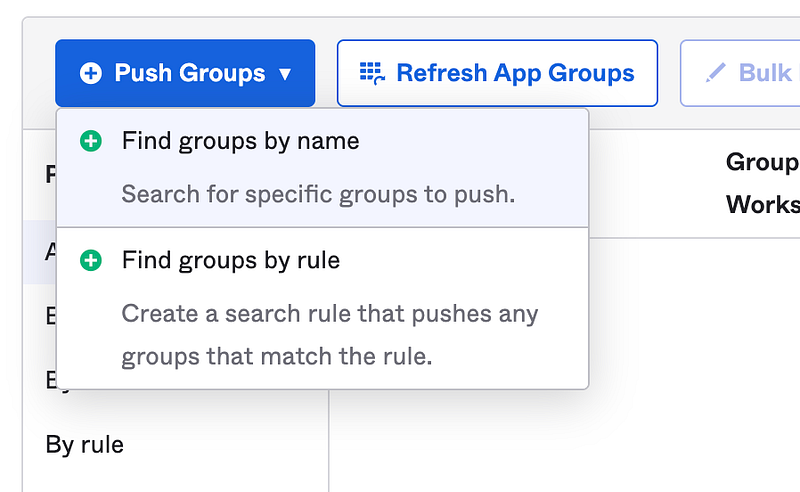
If you have more than one of these groups, you can use the Find groups by rule and match on a group prefix like GCP-. See below.
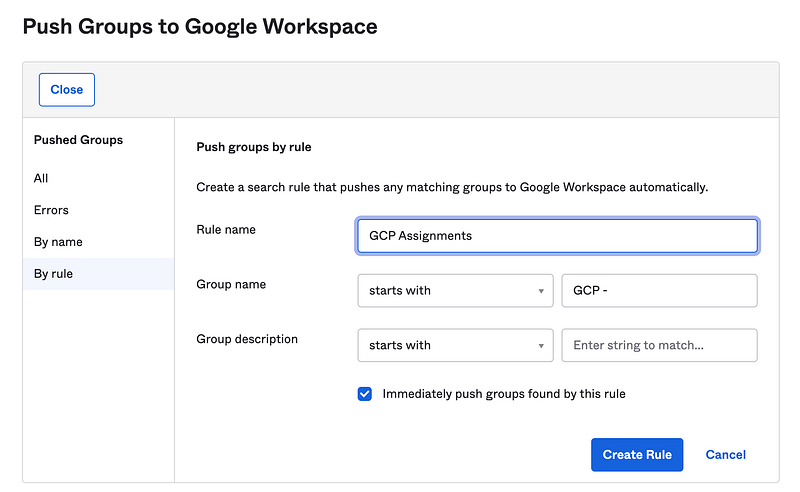
Once this rule is created and activated, you’ll see it populate within your Push Groups.

Next, we want to identify the Chrome Extension to deploy. For this example, we’ll use the JSON Formatter chrome extension.
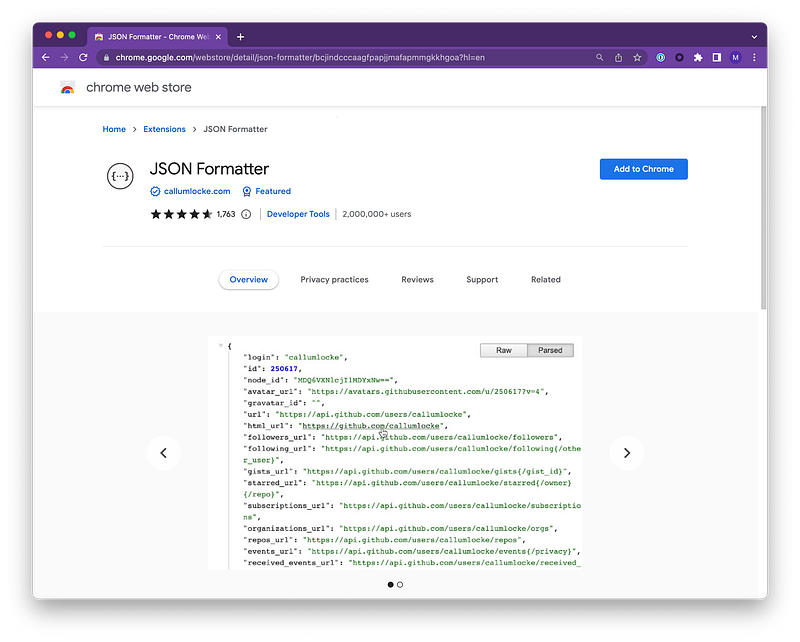
Notice in the URL the chrome extension ID.
bcjindcccaagfpapjjmafapmmgkkhgoaWithin Google Admin > Chrome > Apps and Extensions you’ll have the ability to select a User, Group or Orginzational Unit on the left side.
Select Groups. Then begin entering the newly created Google Group which you configured with your Okta Push Group.
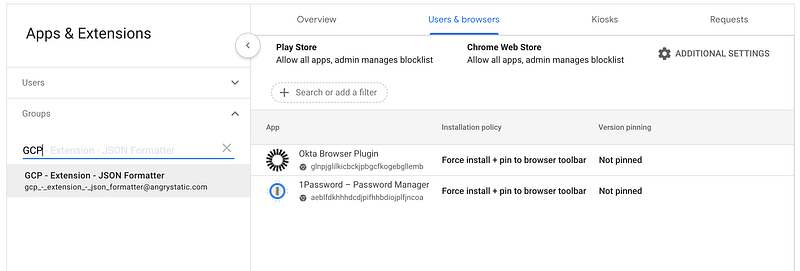
Then you can select Add on the bottom right of the screen and select Chrome Web Store or whatever option you require.

We searched for our Chrome Extension by Extension ID which makes it very easy for us to find and keep track of the right version.

Then we save it.
Mailing Groups vs Security Groups
You can choose to have your new Google Group be a mailing group (receives email) or a security group (used for access). You may find a need to email users of the group to let them know of changes, upgrades, deprecations, etc. Depending on your choice, this is a reminder to revist the group’s permission settings to prevent users from being add themselves to the group by setting it to Invite Only, and removing who can see who is a member of the group.

Conclusion
Switching to this pattern has saved us countless hours in administrative overhead by allowing us to bundle different system configurations together. While we showed how to do it with a Chrome Extension, there are a few other places where something like this is helpful, such as with Drive Trust Rules and Target Audiences. While this may not work for everyone, we hope it helps show the possibilties.
Member discussion